Your Grow Light Plan Made Simple
After setting up your indoor garden space, the next big thing is your grow lights—they’re what let you grow plants without the sun! Here are some easy tips to think about when planning your grow lights to make sure your garden rocks.
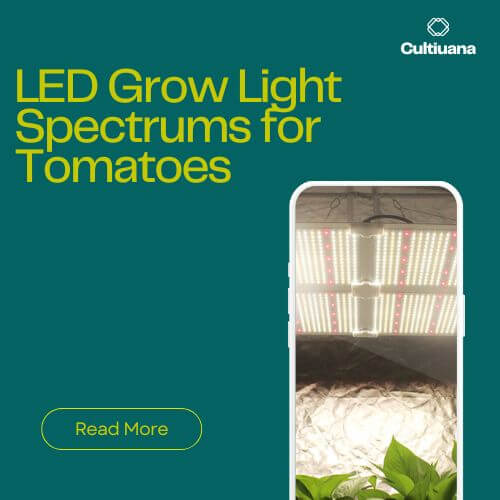
How High to Hang Your Lights
Getting the light height right is super important, and the best way to nail it is with a quantum meter. Don’t have one?
No worries!
Check your LED grow light’s manual for their light map or height tips. If your light can’t be dimmed, make sure there’s at least 25% extra space above it so you can move it up if you need to, plus some room for cords and stuff.
Then, keep an eye on your plants—they’ll show you if the light’s too high or too low. If the company that made your light won’t help with height advice, ditch them and find a better grow light seller.
If your lights can be dimmed, you still need to think about height. Dimming can fix “too much light,” but ask yourself: Did I buy a light that’s way stronger than I need (like dimming it more than 50%)? How much extra did that cost me?

Stop Light Leaks
If your plants are picky about light, your grow space has to be 100% dark when the lights are off. Cover any windows with foam board or stuff that blocks light completely.
For doors, stick on some soft foam weather stripping—pick the squishy kind so it’s easy to close the door without fighting it. If you’re in a big room, you can build a little “hallway” inside the door so you can open and close it without letting light sneak in.
When adding air vents, make sure they don’t let light in with the air. Here’s how to fix that:
Make a PVC light trap using two 90-degree PVC elbows twisted together—light can’t get through all those corners.
Or, buy darkroom louver vents from a photography store—they’re made to block light.
If you make your own light traps, paint the inside flat black so light doesn’t bounce around and sneak out.

How to Hang Your Lights (For Small Gardens)
This part’s for smaller gardens—like a hobby setup or a tiny test garden in a big grow space.
Perforated Angle Iron
Ever tried hanging lights from the ceiling, drill in hand, promising yourself this is the last time you’ll move them? There’s a better way: perforated angle iron! You can grab this at most home stores—it’s a long piece of metal bent at a 90-degree angle with holes every inch or so.
Screw the angle iron to your grow room ceiling or high up on the walls, using strong screws or anchors to hold your lights’ weight. If you’ve got multiple or heavy lights in a room (not a grow box), attach it to the ceiling rafters or wall studs for extra strength.
Then, when you want to try different light setups, just hang the lights from the holes with cables and clips—no need to drill new holes every time! Make sure to use sturdy stuff like chains, metal clips, or heavy-duty zip ties to keep your lights secure.

Light Movers
Light movers make your grow light reach deeper into your garden. Think about it: outside, the sun doesn’t just pop on straight overhead and stay there—it moves from east to west, giving plants light from the sides in the morning and evening, plus straight down at noon. In our gardens, the “sun” (your grow light) usually just turns on right above the plants at full blast.
With a light mover, your light shifts across the garden, so it can hit deeper into the plants’ leaves and stems—not just the top leaves. You don’t need much movement—even a few inches can let more light reach further into the canopy, which means more plants and bigger harvests!
Light movers are a hit with hobby growers who have small setups, usually with one or two lights. But big commercial grows skip them—they just use extra lights next to each other to get the same effect.